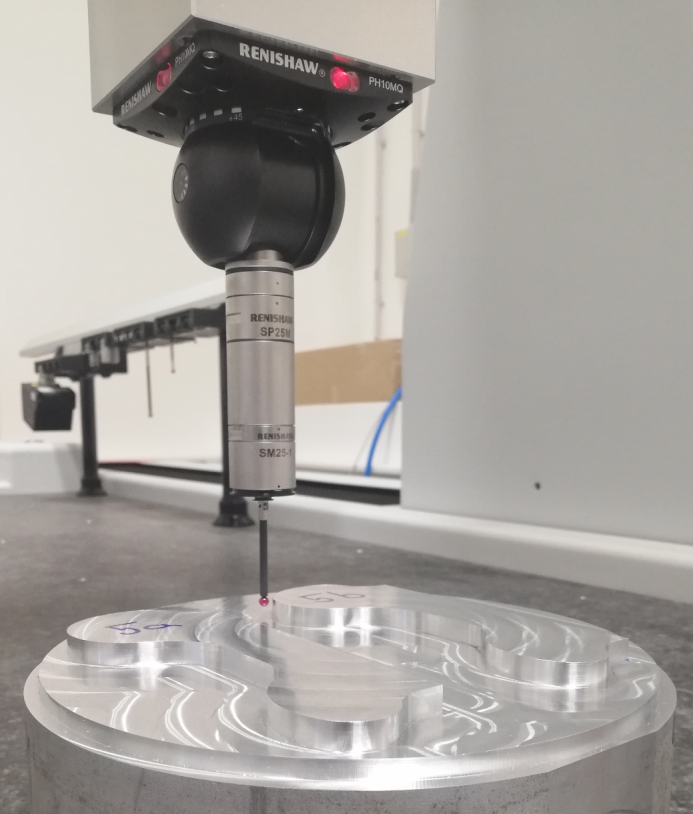
The geometric accuracy of a workpiece represents one of the key parameters defining its quality, and it is affected by the appropriate selection of the machine tool, control system, NC program and cutting conditions. Up-to-date control systems contain advanced compensation functions, which increase the volumetric accuracy of the machine tools. Nevertheless, these functions use correction data measurements within the machine tool’s periodic maintenance plan. This paper introduces a method for ad hoc correction data modification. This modification is based on the difference between the real and nominal workpiece geometries, which are evaluated on a coordinate-measuring machine as a standard process in high-accuracy workpiece production. Correction data are compiled in the form of a three-dimensional structured mesh, where nodes of the mesh contain such correction values that interpolations within the mesh suppress workpiece geometric deviations. The correction mesh calculations are based on the assumption that the nodes are connected by imaginary springs and that they are initially in force equilibrium. Force disbalance is introduced by workpiece geometric deviations evaluated at arbitrary points. Then the new position of force-balanced nodes is calculated. Experimental results on a three-axis machining center have verified the proposed method, where geometric accuracy of the workpiece increased more than 85% without any negative effect on surface quality. The approach presented is efficient for increasing workpiece accuracy without the need for NC program modification.